Showing posts with label courses. Show all posts

made by hand: my rope vessel obsession

Last weekend I attended a little rope vessel making and decorating workshop by the super lovely Gemma Patford at Koskela. Gemma was so generous with her knowledge and gave us loads of tips and tricks! It was so lovely to sit around and have a little chat while crafting! SO much fun!!

:: before craft attack... so inviting!!!

:: crafting attack in progress... that's me in the black and white spots
with a cool Koskela apron on :)

:: my "Gemma Patford" inspired little painted and gold embroidered rope vessel

I think I may have a new obsession! I couldn't wait to get home and have a go myself! I had my fingers crossed that my sewing machine was up for the job! Phew lucky it was!

:: rope vessel No.1 -attempting my first rope basket...
a little tricky at first but easy when you know how!

:: rope vessel No.1-  so happy with my first little attempt! It's now being used by
my little man to house his found coins in!

:: rope vessel No. 2 - painting rope with watercolour

:: rope vessel No. 2 -  completed - I just love it!

: I bought 100 metres of rope... Yikes!!!

:: rope vessel No. 3 -  painting newly bought rope with bronze paint
...totally experimenting
 
:: rope vessel No. 3 - sewing... sewing... sewing!

:: rope vessel No. 3 - 15 metres of rope later...
I am so thrilled with my new rope basket!

I have a feeling there will be quite a few rope vessels being made around here! LOVE it! :)

Hope you had a wonderful and creative week!

Check out what others have been up to here at "Made by Hand".

my creative space: daring to be messy

I am currently doing a six week online painting course "Daring adventures in paint & life" with Mati Rose McDough, which has been amazing so far! I really needed to get out of my comfort zone and embrace a bit of painting chaos!

I have to say, it has been a real challenge for me to let go of my total need to be precise, neat and tidy which screen printing demands!

The first few weeks we have been working on making lush backgrounds. The first week I wasn't really getting it at all... I was "over thinking" where I was putting the brush and paint and getting quite frustrated! Luckily you can just paint over what you are not happy with! Phew!

:: practice panel - mustard and pink

But once I started using the other techniques such as a scraper and brayer... it was so much better, as I had no real control on how the paint was going to turn out! I like that the control was out of my hands! I've started really enjoying getting messy and not thinking to much about where the paint was going.. just going with the flow!

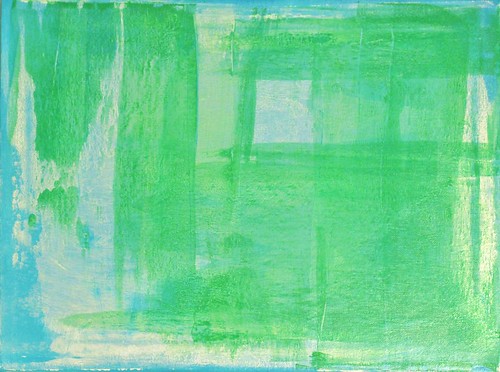
DAP2013 - blue white green background
:: Background one - Turquoise, white and emerald acrylic paint

DAP2013 - pink white yellow background
:: :: Background two - magenta, white and yellow acrylic paint

After quite a few more layers of paint... I accidently dripped paint water on the wet paint and dabbed it off with a paper towel which revealed previous layers of paint... I did a bit of scratching too! I love it!

Dap 2013 week two
:: background one - more layers of yellow, blue, white and fuchsia

I then had to get a bigger canvas (20" x 20")! I NEEDED to make a mess on a bigger scale... of course! This one has still a long way to go but I'm really loving it so far! :)

:: a large canvas of lovely painting messiness (20" x 20")

I am really happy with my efforts so far... after quite a lot of layers of paint! It has been a really interesting process for me and I am so happy that I have finally let go of my perfectionism and embraced messiness! Hooray!

Hope you have had a wonderful creative week... check out what other creative people have been up to at my creative space!

my creative space: emulsion workshop

I finally got to do a screen printing emulsion workshop on Saturday at Peter Leis in Leichhardt with the lovely Susie from Flower Press! Wow... what a great day we had, we learnt so much! Love it!

It was quite a process, but Shivaun from Peter Leis was fantasic and took us through it all! We first applied the emulsion to our screens, quite easy once you get the hang of it! The screen is then left to dry. It all had to be done in yellow light as the emulsion is UV light sensitive.


Then we prepared our art work. I decided to do "kitty luvs bear", my cats design and some "do a bit" labels. I crammed as much as I could on my screen!  Once the screen has dried the artwork on the screen and then placed out in the bright sun for exactly 5 minutes so that the images are burnt into the screen.


Once the 5 minutes was up, we then washed the screen out - it took a bit of washing/blasting! And then voila... our screens were done! It was so exciting to see my finished screen!


I couldn't wait to get home and test my new screen out and do some screen printing!


I LOVE my new screen and "kitty luvs bear" look pretty cute in fuchsia, I think! :)

Hope you have had a wonderful creative week... check out what other creative people have been up to at my creative space!

photography: assignment #1 "bad photos"

I am joining in on a little photography course (online) from Stanford University which the lovely Halina from moments of a libra found! It's a great course so far! I have completed assignment #1 "bad photos" which just means get creative with exposure, movement, blurring, white balance and composition... so not "bad" really!

I took over 400 photos... yikes!!! A LOT of trial and error, but I had lots of fun experimenting and discovering what I can and can't/shouldn't do with my camera... I learnt a lot! I do love to experiment! I had such a hard time choosing only five photos.. I was really please with what I've done! :)

So here are my five photos for assignment #1 "bad photos":

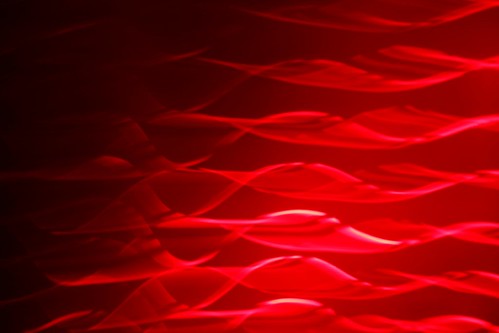
1 - under exposured
:: 1 - poorly exposed - sunlight shining through blinds behind a red curtain

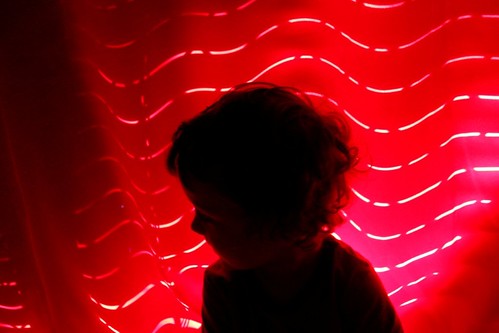
2 - motion blur
:: 2 - motion blurred subject - sunlight shining through blinds behind a red curtain

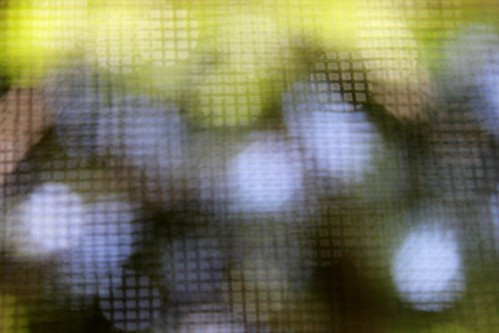
3 - blurred
:: 3 - nothing in focus - trees and sky through mesh screen window

4 - wrong white balance
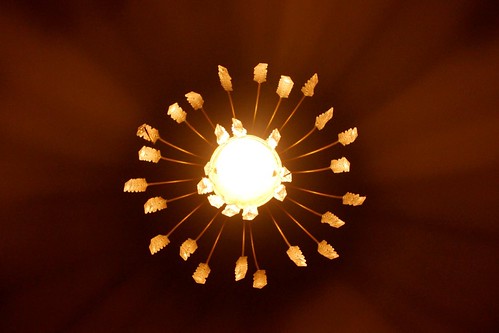
:: 4 - wrong white balance (shade) - bedroom ceiling light

5 - composition
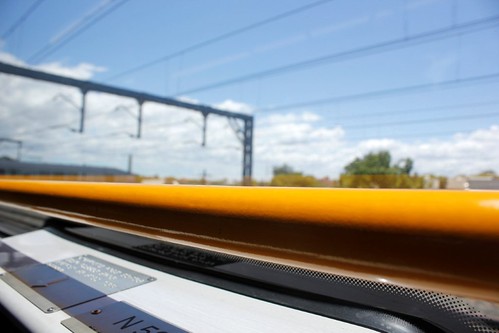
:: 5 - poorly composed- travelling on a train

There are more photos from the group on flickr here! If you are interested in joining in, it's not too late as we are doing it at our own pace! There is more info over at Halina's blog here!

Hope you are having a great week... :)

drawing course: week 8

Boo hoo hoo... it was the last week of my drawing course! It was such a great night, we all brought some food or wine and had a few breaks from drawing to enjoy a bit of a last day party! It's quite sad really, after 8 weeks you get to know these great people, then you'll probably will never see them again! It's been excellent to see how far others have come with their drawing skills from the beginning.. a few have really improved amazingly!

A few of us were feeling the pressure of the last night... wanting to draw really well! We were having a few problems relaxing, but it was a different story once we had a glass of wine :)

We started off with a few 1 minute drawing to warm up!

:: 1 minute sketches - charcoal on A2 paper

Next - 5 minute drawings and a portrait. I was a bit happier with these ones. Our model had really fantastic dreadlock hair tied up into a bun arrangement!

:: 5 minute sketches - charcoal on A2 paper

:: 5 minute portrait - charcoal on A2 paper

Next - we did some shadow drawing, where we drew/shaded the dark areas in the shadow. I really liked this exercise.

:: 5 minute sketch - charcoal on A2 paper

Then we moved onto 10 minute drawings and we had some more food and wine :)

:: 10 minute sketch - charcoal on A2 paper

:: 10 minute sketch - charcoal on A2 paper

:: 10 minute sketch - charcoal on A2 paper

:: 10 minute sketch - charcoal on A2 paper

I'm really happy with my last sketch of the evening! I'm not really good at drawing feet and hands in such a rush but I like my foot in this one :)

I have really enjoyed this drawing class so much and it was good to get back to basics, I felt that I learnt a lot! I would really love to do some more drawing or painting courses but I think the next thing I will be doing is photography! I really need to learn how to use my new camera... desperately!!

Hope you all are having a great Monday :)

drawing course: week 7

My second last class :( We did life drawing this week... I really loved it! I have done a little bit of life drawing about 20 years ago and I don't remember a thing really! But I found that I got into the swing of things really quickly!

First we did loads of 1 minute basic line sketches to get our bearings.

:: 1 minute  drawings - charcoal on A2 paper

Next - 3 minute drawings: We drew circles for each part of the body and then drew the body outline, if we had time. This was a really great technique to get the body proportions right... I need all the help I can get!

:: 3 minute drawings - charcoal on A2 paper

:: 3 minute drawings - charcoal on A2 paper

Next - 5 minute drawings:  We drew circles in pencil this time and then drew the outline of the body in charcoal. *Please excuse the smudging over the top of the drawings which is caused by other drawings on the facing pages. I had to use both sides of the paper as I nearly ran out of paper!

:: 5 minute drawings - charcoal on A2 paper

The next set of 5 minute sketches: We used squares and triangle to sketch out the body and then drew the body outline over the top with charcoal.

:: 5 minute drawings - charcoal on A2 paper

Next - 10 min drawings: These were my favourite from the whole evening! At first I thought I liked using the circle technique as it is give a smoother finished outline. But after chatting to one of the ladies during our break, she was using squares and triangle... I decided to switch and try the squares and triangle again! I am so glad I did as I much prefer the slightly more angular look it gives to the drawing when you do the outline. So funny, the lady I was chatting to decided to switch to circles!
Some of the positions the model was sitting in were quite difficult to draw especially where she has her leg tucked under the other... I think I did really well :)

:: 10 minute drawings - pencil and charcoal on A2 paper

:: 10 minute drawings - pencil and charcoal on A2 paper

:: 10 minute drawings - pencil and charcoal on A2 paper

It was such a great class and I am so pleased with how my drawings turned out... such a huge improvement from the beginning of the class!!!  I really do surprise myself sometimes :)


Next week...my last week :( and more life drawing... Yay!!!

drawing course: week 6

Portraits this week... we had to bring in a mirror so we could draw our own face... wow what a challenge! I actually really enjoyed this class! Though it was a bit confronting drawing my wrinkles!!! I ended up looking really old... yikes!

We first started off with the basics of where things go on the face and doing a basic sketch in pencil.

:: self portrait - pencil on A2 paper

Then we did a left handed continual drawing, where you don't take the charcoal off the paper while you are drawing! I really loved doing this one, such great fun! This one is my favourite out of them all, though I'm not sure it looks like me, but I love it :)

:: left handed continual self portrait
- willow charcoal on A2 paper

Next... we did a right handed continual drawing with charcoal. I really stuffed up my first attempt... what was my brain thinking and I nearly got into trouble by the tutor... she said if I had continued with that drawing she would have told me to start again doing it left handed... she was kidding... I think??? This is the best one I did of them!

:: right handed continual self portrait
- willow charcoal on A2 paper

The last one we did was a more detailed right handed, charcoal drawing which still needs more work done on it. I'm really pleased with how it's going,  though I do look A LOT older... maybe I should give myself a little face lift and removed some of those wrinkles!!

:: self portrait - willow charcoal on A2 paper

And here is a photo of me in my glasses so you can see what I actually do look like as a comparison! I only wear glasses for close up work and on the computer! I didn't draw them in the first and last drawings as they got in the way of the detail/wrinkles :)

:: me :)
It was such great class this week, I have learnt so much! I really love the look of the continual drawings and their strong dramatic lines, love it! 

Next week... life drawing!!!


drawing course: week 5

This week - Landscapes! We had to bring in a picture of a landscape that we wanted to draw. It was hard trying to find just one... there are so many amazing images out there! I did a massive search on Google and Flickr, printed out quite a few and finally decided on this one from Cuba Gallery.

:: image source Cuba Gallery

I was really drawn to the composition - power lines going to a lonely little shack, the open spaces and a spattering of trees. The tutor wrote up on the board a little list of the steps for us follow when creating our landscapes.


I printed the image in black and white so much easier to see where the shading would go! I also cropped some of the image to make it the same shape as my page. After drawing the basic outline in pencil and I spent a lot of time building up the background layers with willow charcoal... in fact too much time... it got to 8.30pm and I hadn't done any trees so I have 30min to get some detail in there!

:: building up layers with willow charcoal

:: a few trees by the end of class... phew!

I finished it at home the next night... I think it does need more work but I'm quite pleased with how it turned out! I really love my trees, the power lines a bit wobbly but I do quite like that!

:: landscape in charcoal on A2
I learnt a lot from this class... I feel like I am a lot more confident, relaxed at experimenting, letting go when drawing and not worrying about making everything so perfect! I really enjoyed this class a lot.. luckily there weren't that many straight lines :)

Next week.... portraiture... help!